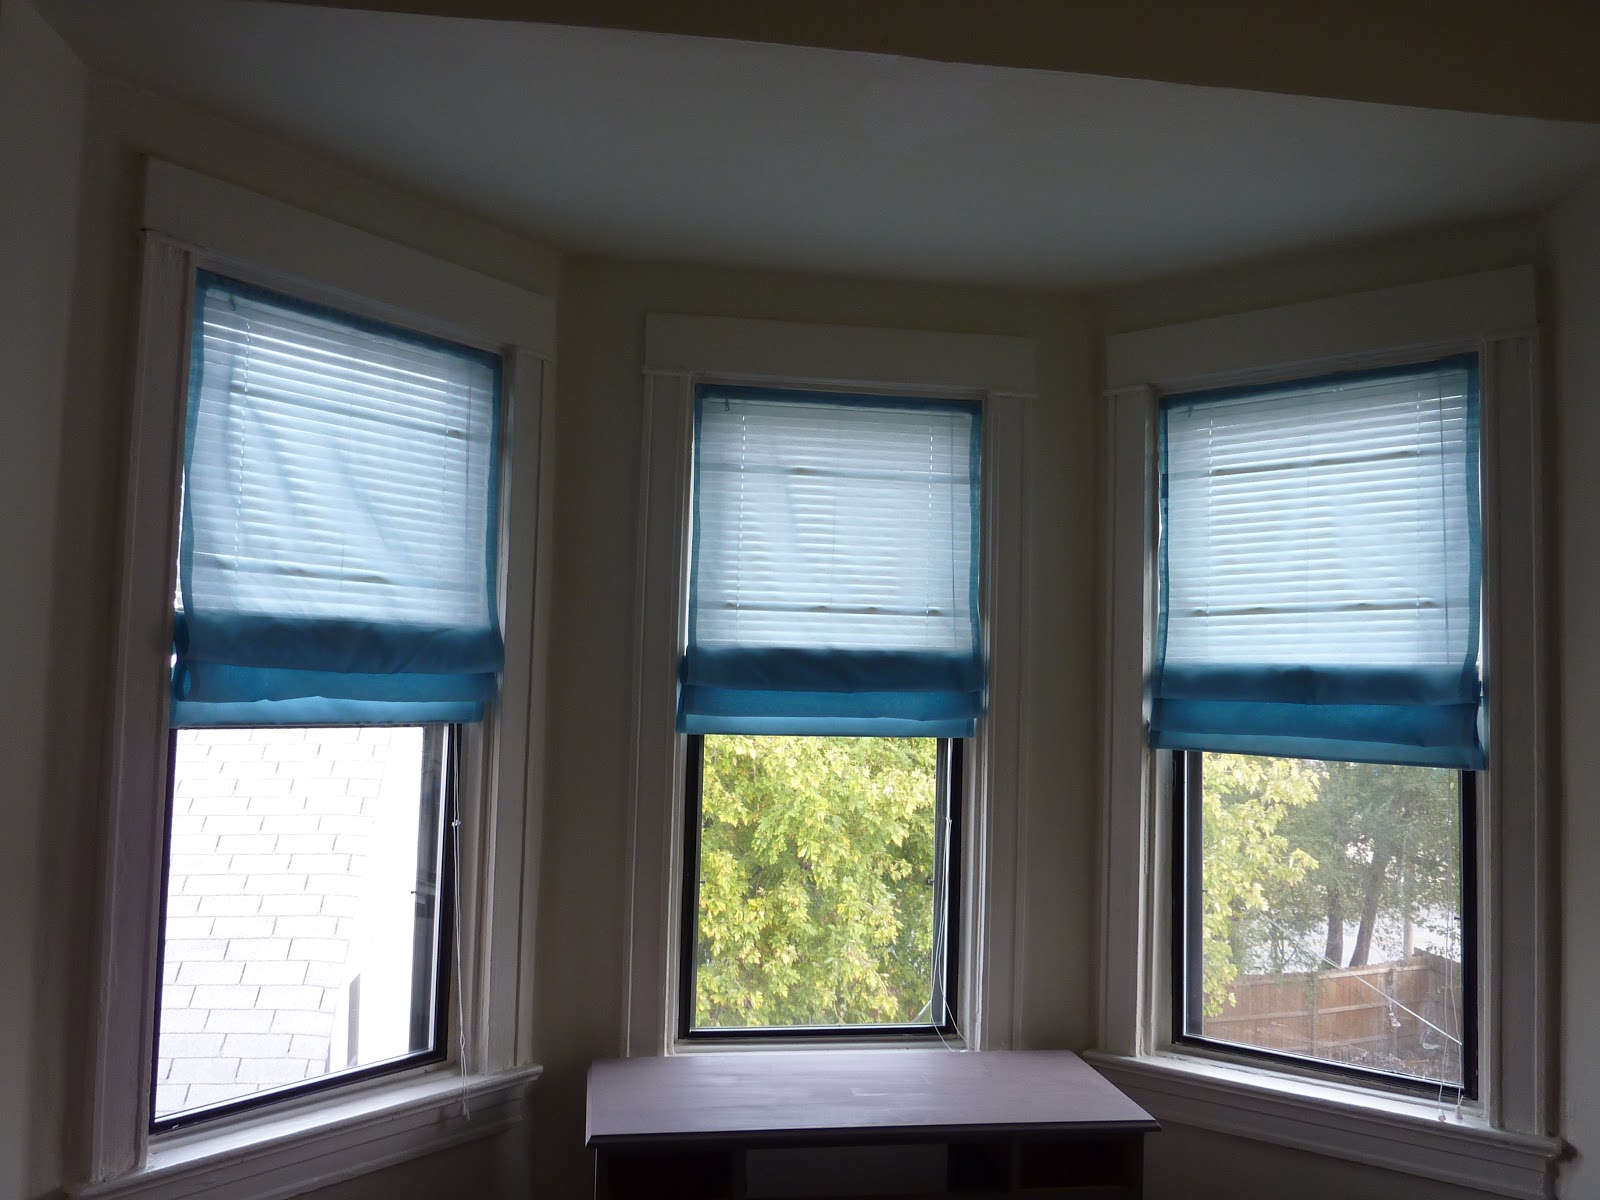
My apartment is full of mini blinds. See Exh. 1.
I'm not exactly surprised, mini blinds make the apartment world go 'round. But, I'm on the third floor, don't have anyone who can see into my apartment, and mini blinds aren't my favorite thing. Not to mention, the blinds are white and the walls and trim are cream. So, curtains and other window decor it is. Turns out, that is easier said than done.
First, my lease kind of says that I shouldn't be putting things into the wall. I follow those directions. Well, maybe it would be better to say that there will be no evidence of things pounded or screwed into the walls when I leave.
But there is also the issue of nothing being even, level, or symmetrical in this apartment. Really, I'll do a post on it at some point. And the even freakier issue is that my incredibly thick plaster walls make it impossible to put curtain rods up in a way that any normal person would appreciate.
So, what's a girl to do? Hit the internet of course. Apartment Therapy (a great site for browsing and having fun) had a post for no sew roman shades from mini blinds. I was saved! Until I realized that this involved buying mini blinds, because you ultimately destroy them. That was not in the plan. So I hit the interwebs again. And again. No luck. There are a TON of tutorials out there, but they all involve taking the blinds completely apart. Call me cheap, but I did not want to be replacing these blinds when I moved out.
I started to think. The blinds just pull the fabric up, right? So if the full mini blind is still behind the fabric, is that the end of the world? I realized that unless full blackout fabric was used, you would likely still see the outline of the blinds behind the curtain, but I decided I would be okay with that. Anything has to be better than what I have now, right?
And so I began to brainstorm other ways to attach the fabric to the blinds so that I could remove it when I leave. Even if I kept the blinds behind the fabric, gluing fabric to the slats would ruin them. I think that my landlord would notice if the blinds were missing a bunch of slats, or if they looked like glued up caca at the end of my lease. The internet did not appear to agree that there must be another way to adhere the fabric. Heck, they did not even agree with leaving the blinds up! But I thought it was worth a shot. This, of course, would be a much bigger project. I considered using starch (the method for using fabric as removable wallpaper) but was concerned about the longevity with moving the blinds up and down. Sewing was a feasible option. I would have to make the shades, lay them out with the blinds, and hand stitch the fabric around the slats in order to make the shade. But, I could just cut it off when I was done.
As I sat at the dining table thinking this over, I noticed something.
See that? Waaaaaay at the bottom? Those are extra mini blind slats. You see, if you want a custom fit mini blind, you not only trim the sides, but you take out the extra slats. My landlord, like most everyone in the world, never did that. Hmmmm....so I could take out those slats and ultimately use them to replace the ones that I caca-ed up. Small slits at the back of the blind slats, but he'd NEVER notice those. And heck, it is a help to remove those slats because the blinds will look better without them!
And then I realized that I could take out the extra slats, put notches in the back, reinsert them on top of the existing slats, and glue those. That way, when I was done there wouldn't be ANY evidence! Are you following me? Probably not, I'm barely following this myself. And I took very few pictures. Wah wah.
I decided to start in the bedroom because I had some cheap Ikea curtains that I could use for fabric . I could cut the amount that I needed off the bottom or the side for a test window and if it did not work out I would still have enough curtain left to be usable elsewhere after some quick hemming. Plus, the width (57") of those curtains was the exact length of the interior window, making this appear to be a snap. All that I would need to do was cut the curtains to width and use hem tape to finish the edges. Side note, sewing these edges would have been just as easy, but I did not feel like pulling out my machine.)
Basically, I reviewed this tutorial at 365 Day to Simplicity to get a strategy, although I looked at almost every blog post on the internet. I removed all of the extra slats and made the blinds the correct height.

Then, I selected the slats that I was going to use to attach my fabric, and I cut slits in them so that I could reinsert them on top of the existing blinds.

Clearly, I also cut and hemmed my fabric. I'll let you guys look at another tutorial to figure that out. Once I had my fabric, I took one slat and glue it at the top. I left about 1.5" unglued at either side. Once it was all dry, I slipped this slat over the top of the mini blinds, behind the plastic tabs that hold them in. It was important to leave this section unglued so that I could use the tabs to hold in the blind, but have the fabric cover them completely.

This "hung" my fabric. I decided that instead of glue, I would use the glue dots that I happened to have laying around. From my wedding invites. Five plus years ago. For realz.

This ended up being great, because they had enough strength to attach the fabric, but they were not messy or wet and I was able to reposition as needed. I ended up gluing the fabric to the blind on every fourteenth slat. I initially inserted the dummy slats every seventh row, but I didn't like how narrow the folds were, so I removed half of the slats and pulled it up again. Much better!
I also used the swivel rod as a weight on the bottom to make the first fold hang very neatly. It didn't fit on the blinds anymore anyway, and this way I don't have to worry about losing them. So, here they are!!


 |
| Exhibit 1: Bedroom Blinds |
First, my lease kind of says that I shouldn't be putting things into the wall. I follow those directions. Well, maybe it would be better to say that there will be no evidence of things pounded or screwed into the walls when I leave.
But there is also the issue of nothing being even, level, or symmetrical in this apartment. Really, I'll do a post on it at some point. And the even freakier issue is that my incredibly thick plaster walls make it impossible to put curtain rods up in a way that any normal person would appreciate.
So, what's a girl to do? Hit the internet of course. Apartment Therapy (a great site for browsing and having fun) had a post for no sew roman shades from mini blinds. I was saved! Until I realized that this involved buying mini blinds, because you ultimately destroy them. That was not in the plan. So I hit the interwebs again. And again. No luck. There are a TON of tutorials out there, but they all involve taking the blinds completely apart. Call me cheap, but I did not want to be replacing these blinds when I moved out.
I started to think. The blinds just pull the fabric up, right? So if the full mini blind is still behind the fabric, is that the end of the world? I realized that unless full blackout fabric was used, you would likely still see the outline of the blinds behind the curtain, but I decided I would be okay with that. Anything has to be better than what I have now, right?
And so I began to brainstorm other ways to attach the fabric to the blinds so that I could remove it when I leave. Even if I kept the blinds behind the fabric, gluing fabric to the slats would ruin them. I think that my landlord would notice if the blinds were missing a bunch of slats, or if they looked like glued up caca at the end of my lease. The internet did not appear to agree that there must be another way to adhere the fabric. Heck, they did not even agree with leaving the blinds up! But I thought it was worth a shot. This, of course, would be a much bigger project. I considered using starch (the method for using fabric as removable wallpaper) but was concerned about the longevity with moving the blinds up and down. Sewing was a feasible option. I would have to make the shades, lay them out with the blinds, and hand stitch the fabric around the slats in order to make the shade. But, I could just cut it off when I was done.
As I sat at the dining table thinking this over, I noticed something.
 |
| Okay, so these are the blinds in my living room. I already removed half the slats in my whole house, so I can't show you the ones from the dining room. But those were even thicker. |
See that? Waaaaaay at the bottom? Those are extra mini blind slats. You see, if you want a custom fit mini blind, you not only trim the sides, but you take out the extra slats. My landlord, like most everyone in the world, never did that. Hmmmm....so I could take out those slats and ultimately use them to replace the ones that I caca-ed up. Small slits at the back of the blind slats, but he'd NEVER notice those. And heck, it is a help to remove those slats because the blinds will look better without them!
I decided to start in the bedroom because I had some cheap Ikea curtains that I could use for fabric . I could cut the amount that I needed off the bottom or the side for a test window and if it did not work out I would still have enough curtain left to be usable elsewhere after some quick hemming. Plus, the width (57") of those curtains was the exact length of the interior window, making this appear to be a snap. All that I would need to do was cut the curtains to width and use hem tape to finish the edges. Side note, sewing these edges would have been just as easy, but I did not feel like pulling out my machine.)
Basically, I reviewed this tutorial at 365 Day to Simplicity to get a strategy, although I looked at almost every blog post on the internet. I removed all of the extra slats and made the blinds the correct height.

Then, I selected the slats that I was going to use to attach my fabric, and I cut slits in them so that I could reinsert them on top of the existing blinds.

Clearly, I also cut and hemmed my fabric. I'll let you guys look at another tutorial to figure that out. Once I had my fabric, I took one slat and glue it at the top. I left about 1.5" unglued at either side. Once it was all dry, I slipped this slat over the top of the mini blinds, behind the plastic tabs that hold them in. It was important to leave this section unglued so that I could use the tabs to hold in the blind, but have the fabric cover them completely.

This "hung" my fabric. I decided that instead of glue, I would use the glue dots that I happened to have laying around. From my wedding invites. Five plus years ago. For realz.

This ended up being great, because they had enough strength to attach the fabric, but they were not messy or wet and I was able to reposition as needed. I ended up gluing the fabric to the blind on every fourteenth slat. I initially inserted the dummy slats every seventh row, but I didn't like how narrow the folds were, so I removed half of the slats and pulled it up again. Much better!
I also used the swivel rod as a weight on the bottom to make the first fold hang very neatly. It didn't fit on the blinds anymore anyway, and this way I don't have to worry about losing them. So, here they are!!

During the day the slats are more obvious, because the sunlight is behind them. At night you cannot see them as easily, but they are still visible. This is largely because I used a very sheer fabric. A heavier fabric would not have been so obvious.
Either way, I feel like I cracked the Davinci code. How to make easy roman shades that are apartment friendly!
Next up, my even more apartment friendly relaxed roman shades in the dining room! I am really excited about this new idea, just need to get on it already!
Either way, I feel like I cracked the Davinci code. How to make easy roman shades that are apartment friendly!
Next up, my even more apartment friendly relaxed roman shades in the dining room! I am really excited about this new idea, just need to get on it already!
No comments:
Post a Comment